Levelling
This page shows you how to use the Leveller effect in Audacity.
It is possible that the volume in your recording varies from time to time. One way of fixing this and improving the recording is by manually de-amplifying the peaks. An easier way is to use the Leveller. It evens out the waves, and also does a bit of noisecleaning. The Leveller is quite simple to use.
1. Select the track (Ctrl + A)
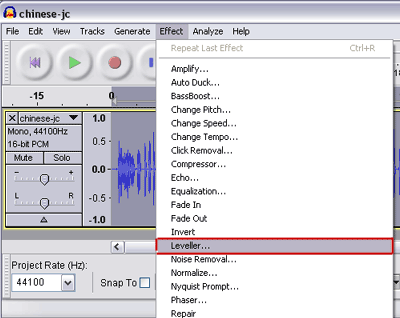
2. Go to Effects > Leveller

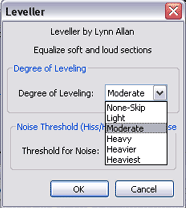
3. Pick the Degree of Leveling from the drop-down menu
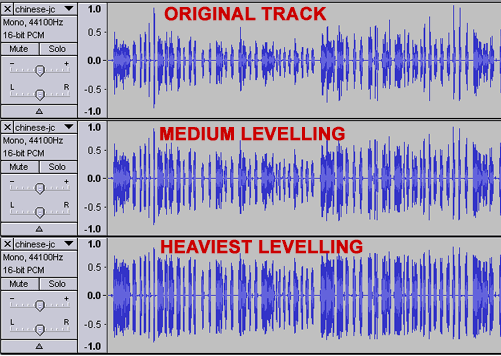
Choose the right settings as needed. Note that the heavier the setting, the more sound distortion you might get.

Here is a comparison between the different levels:

4. Pick the Noise Threshold
The Leveller will do some noisecleaning by lowering the volume of sound under a certain number of decibels. You may keep the default value, but with experience, you might decide on another value that best fits your situation. (The lower the value, the more the fainter sounds will get amplified.)
Here is a comparison between the different levels:
